Introduction
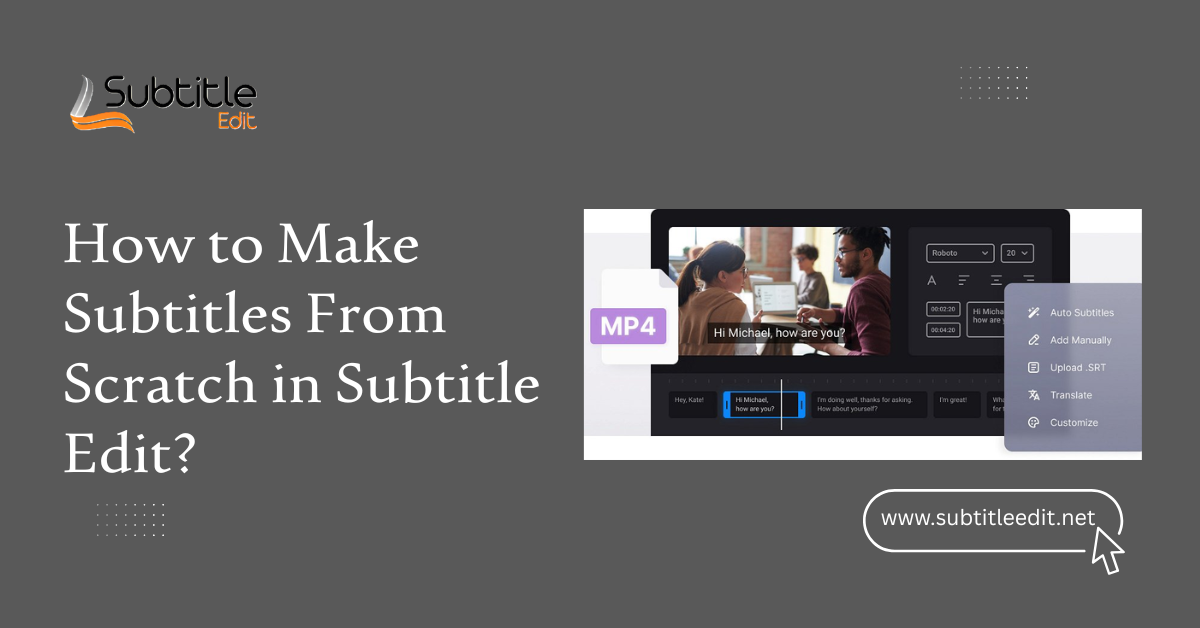
Creating accurate, professional subtitles can significantly enhance the accessibility and engagement of your video content. Whether you’re an animated video maker or a video editor working on tutorials, short films, or educational content, Subtitle Edit offers a powerful, free, and user-friendly platform for building subtitles from the ground up. In this guide, you’ll learn how to create subtitles from scratch using Subtitle Edit, with practical steps and tips that suit both beginners and seasoned creators.
Why Use Subtitle Edit for Subtitle Creation?
Subtitle Edit is an open-source subtitle editor designed to let you create, edit, synchronize, and translate subtitles with precision. Unlike basic tools or auto-captioning software, Subtitle Edit gives you full control over timing, text formatting, translation, and audio waveforms. With over 200 subtitle formats supported and a robust interface for waveform/spectrogram editing, it’s a preferred choice for creators aiming for accuracy.
Key Benefits of Subtitle Edit:
- Completely free and open-source
- Supports more than 200 subtitle formats
- Advanced waveform and spectrogram views
- Google Translate integration
- OCR and audio-based subtitle generation tools
Takeaway: Subtitle Edit is a comprehensive tool that empowers creators with advanced yet accessible subtitle editing features.
Step-by-Step: How to Create Subtitles from Scratch Using Subtitle Edit
Creating subtitles from scratch may seem daunting, but Subtitle Edit simplifies the process through its intuitive interface and helpful tools.
Step 1: Download and Install Subtitle Edit
Go to subtitleedit.net and download the latest version of the software. Subtitle Edit is available for Windows and Linux (via Mono).
- Choose the installer or portable version based on your preference.
- Install the software and launch it.
Tip: Make sure your video file is accessible, as you’ll need to load it into the software to create subtitles accurately.
Takeaway: Begin by installing Subtitle Edit and preparing your video file for subtitle creation.
Step 2: Load Your Video File
- Click on Video > Open Video File to load the media.
- Subtitle Edit supports most common video formats (MP4, AVI, MKV).
- Once loaded, you’ll see the video player at the top, with the audio waveform or spectrogram below.
This visual timeline helps you identify exact moments to insert subtitles.
Takeaway: Loading your video allows for precise subtitle placement using visual and audio cues.
Step 3: Start Adding Subtitle Lines
- Go to File > New to create a blank subtitle file.
- Play your video and pause at the point you want to insert a subtitle.
- Click Insert new subtitle at video position or press Ctrl + I.
- Enter your subtitle text in the text field.
- Adjust the start and end times using the waveform or by manually typing the timestamps.
Best Practices:
- Limit each subtitle line to 42 characters (2 lines max).
- Aim for 1–3 seconds of display time per line, depending on reading speed.
- Use punctuation properly to guide comprehension.
Takeaway: Subtitle Edit lets you add and fine-tune each subtitle with precise timing and formatting.
Step 4: Sync Subtitles to Audio Using Waveform or Spectrogram
One of the standout features of Subtitle Edit is the waveform/spectrogram view.
- Use the mouse to zoom in on the audio waveform.
- Drag the subtitle blocks directly on the timeline to sync them with spoken words.
- You can also use Ctrl + Shift + A to auto-align subtitle durations with speech intervals.
Why It Matters: This visual syncing ensures subtitles appear and disappear at the right moment, improving viewer experience.
Takeaway: The waveform view enables frame-accurate subtitle timing based on audio signals.
Step 5: Save and Export Your Subtitles
- Go to File > Save As to store your subtitle file.
- Choose from popular formats like SRT, VTT, ASS, or SUB.
- Make sure the file name matches the video name if you’re planning to auto-load subtitles on playback.
You can also embed subtitles into the video using external tools like HandBrake if needed.
Takeaway: Subtitle Edit supports easy export to multiple formats for compatibility with any video player or platform.
Useful Features for an Animated Video Maker
If you’re an animated video maker, timing and clarity are essential. Here’s how Subtitle Edit can serve your workflow:
- Precise Timing: Animation often requires frame-perfect subtitle syncing. Subtitle Edit allows you to fine-tune timings using frame numbers.
- Multi-language Support: Translate your subtitles with built-in Google Translate integration or export for external translation.
- Batch Adjustments: Shift or rescale all timings if your animation gets re-edited.
- Spell Check & Auto-Fix: Helps maintain professionalism and polish.
Takeaway: Subtitle Edit gives animated video creators full control to match their visual storytelling with text-based clarity.
Pro Tips to Improve Your Subtitling Workflow
Want to subtitle faster and better? These tricks will streamline your workflow:
- Use Hotkeys: Learn common shortcuts like Ctrl+I (insert), Ctrl+P (play/pause), and Ctrl+Shift+A (auto-adjust).
- Enable Auto-Repeat: Replay the last few seconds automatically to hear the same line again.
- Use Audio to Text (Beta): Subtitle Edit supports audio-based auto-transcription using Whisper or Vosk (accuracy varies).
- Customize Appearance: Use ASS format for advanced styling (fonts, color, positioning).
Takeaway: Mastering Subtitle Edit’s features and shortcuts can dramatically speed up subtitle creation.
Common Mistakes to Avoid When Creating Subtitles
Even skilled editors can make these frequent mistakes:
- Overloading Text: Too many words per subtitle overwhelm viewers.
- Bad Timing: Subtitles that appear too early or late can confuse the audience.
- Ignoring Line Breaks: Poor formatting reduces readability.
- Not Previewing: Always preview your video with subtitles to catch syncing issues.
Takeaway: Clean, well-timed, and properly formatted subtitles make all the difference in viewer comprehension.
FAQs
How do I adjust subtitle timing in Subtitle Edit?
Use the waveform to drag subtitle blocks or manually edit the start/end time fields.
Summary: Adjust subtitle timing by dragging or editing timestamps for accurate sync.
Can Subtitle Edit auto-generate subtitles?
Yes, it supports audio-to-text tools like Whisper and Vosk, but results may need manual corrections.
Summary: Subtitle Edit offers auto-subtitle features, though manual edits are often needed.
Which subtitle format should I export?
SRT is the most universal and compatible format, ideal for YouTube, VLC, and social platforms.
Summary: Export in SRT format for broad platform compatibility.
Can I embed subtitles into a video using Subtitle Edit?
No, but you can use exported subtitle files with tools like HandBrake to hardcode them.
Summary: Use external tools like HandBrake to embed subtitles created with Subtitle Edit.
Is Subtitle Edit suitable for animated videos?
Absolutely. Its frame-level accuracy and styling options make it ideal for animated content.
Summary: Subtitle Edit is highly suitable for subtitle timing in animated videos.
Conclusion: Subtitling Made Simple with Subtitle Edit
Creating subtitles from scratch doesn’t have to be complicated. With Subtitle Edit, you gain access to powerful tools that enable you to craft accurate, clear, and synchronized subtitles, whether you’re a casual editor or a professional animated video maker. From precise audio syncing to export flexibility, Subtitle Edit empowers creators to produce polished subtitles that enhance their content and engage a wider audience.
Latest Post: